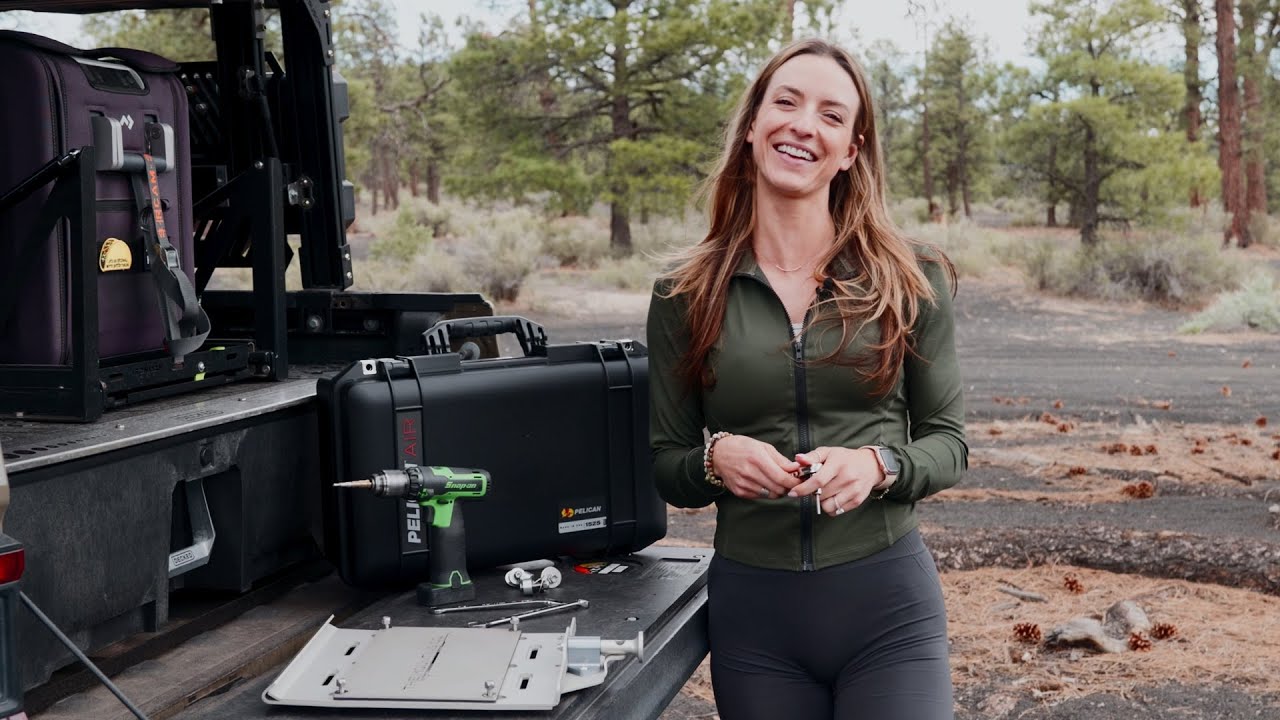
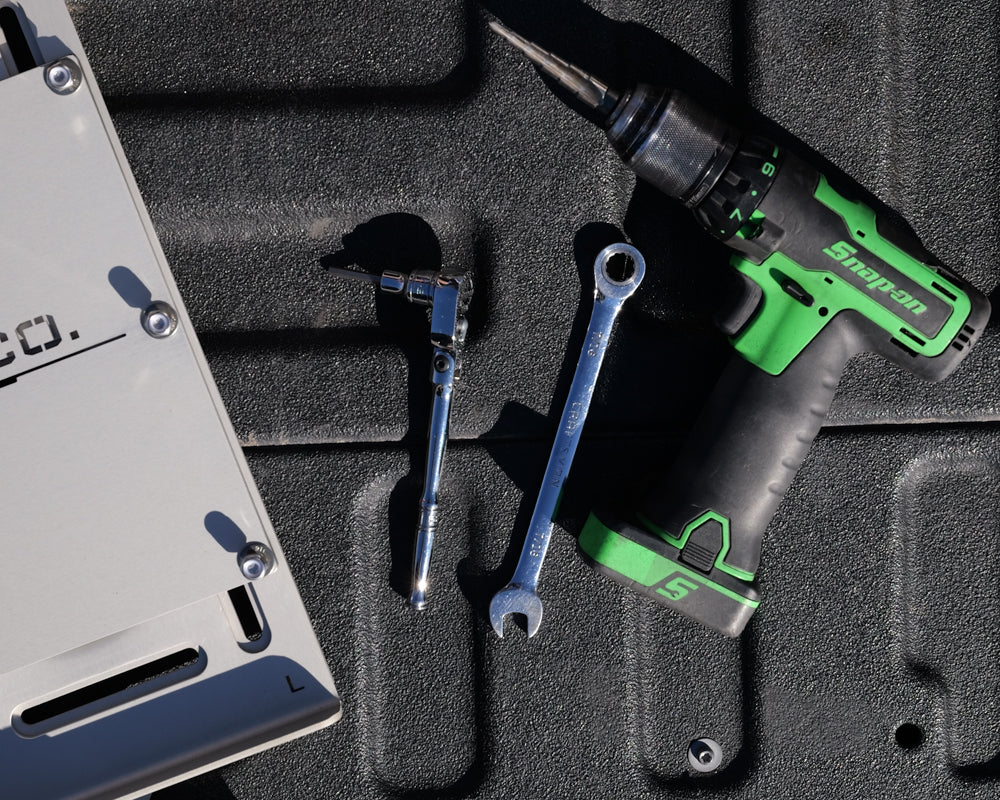
TOOLS
Measuring Tape
Drill
¼” Drill Bit
5/32” Allen
7/16” Wrench or Socket/Ratchet
3/16” Allen
½” Wrench or Socket/Ratchet
Patience
Attention to Detail
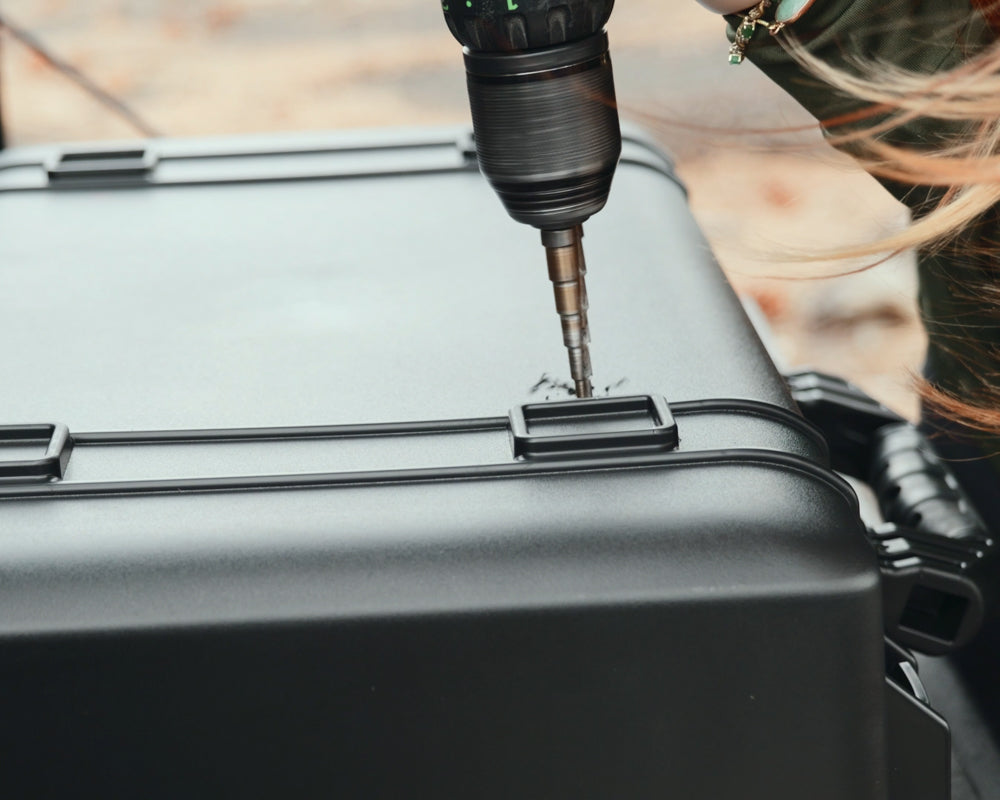
Pro Tip: Utilize a Stepbit to drill; this provides a smoother hole and deburrs the edge as well.
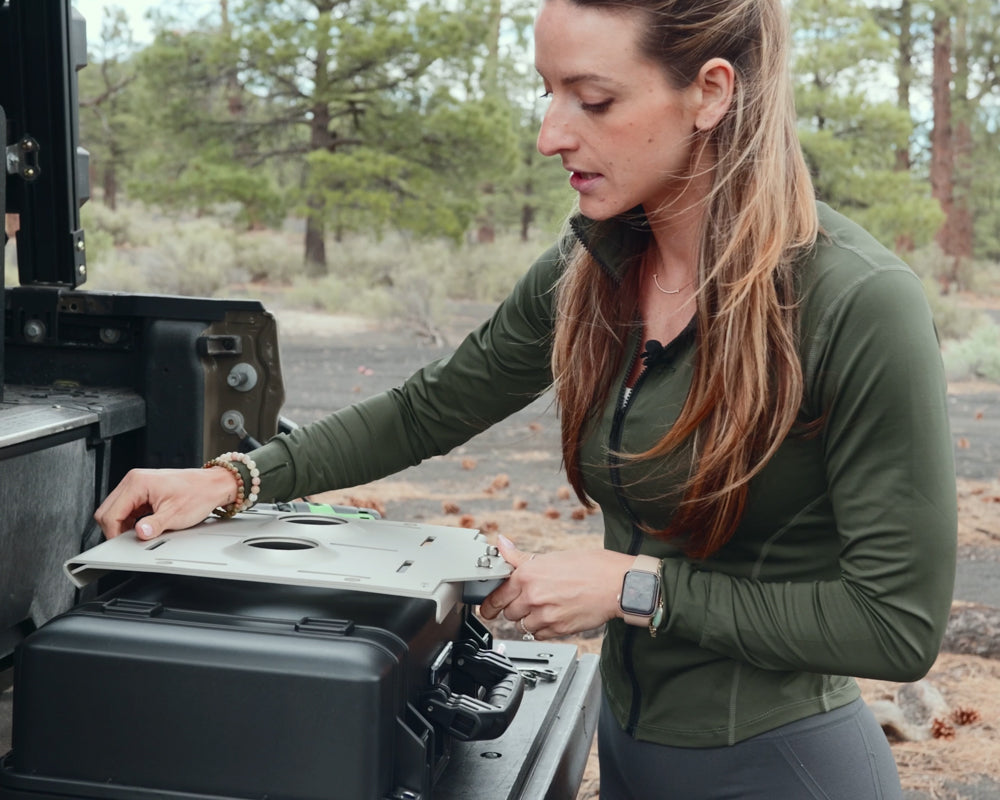
STEP 1
Place the Internal gasket and plate to the side.
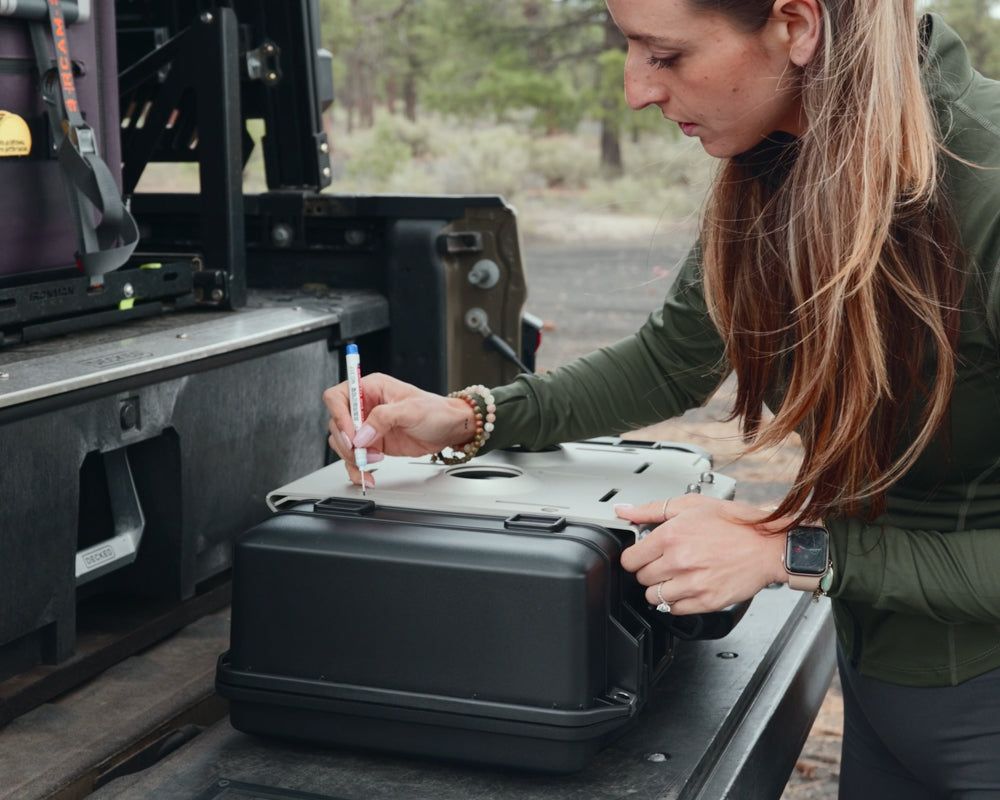
Flip your Case upside down. DO NOT install from the interior. By installing from the outside you can center the case perfectly on the mount.
Place the mount externally on the bottom and center from Handle to Hinge. Making sure that you have room for the back lip and the pin block.
Be aware of any Protrusions. Different cases have solid plastic protrusions; these can be trimmed or sanded down, providing a tighter and slimmer fitting Mount Plate to the Case. But trimming may not be necessary.
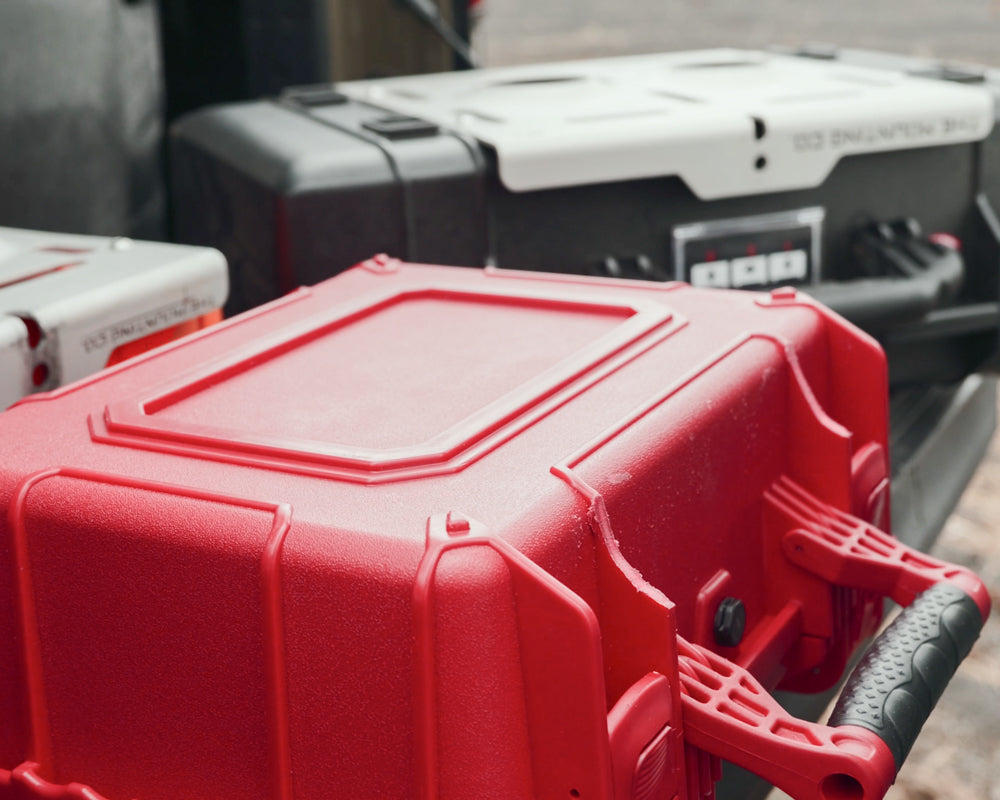
TIP
Different cases have solid plastic protrusions; these can be trimmed or sanded down, providing a tighter and slimmer fitting Mount Plate to the Case.
STEP 2
Once you have measured and checked THREE TIMES (3). Go ahead and use a marker to mark where you will need to drill.
This is where you will use a ¼” Drill Bit. If you have one, utilize a step bit to de-burr the holes.
STEP 3
Carefully drill all holes to a 1/4" diameter.
STEP 4
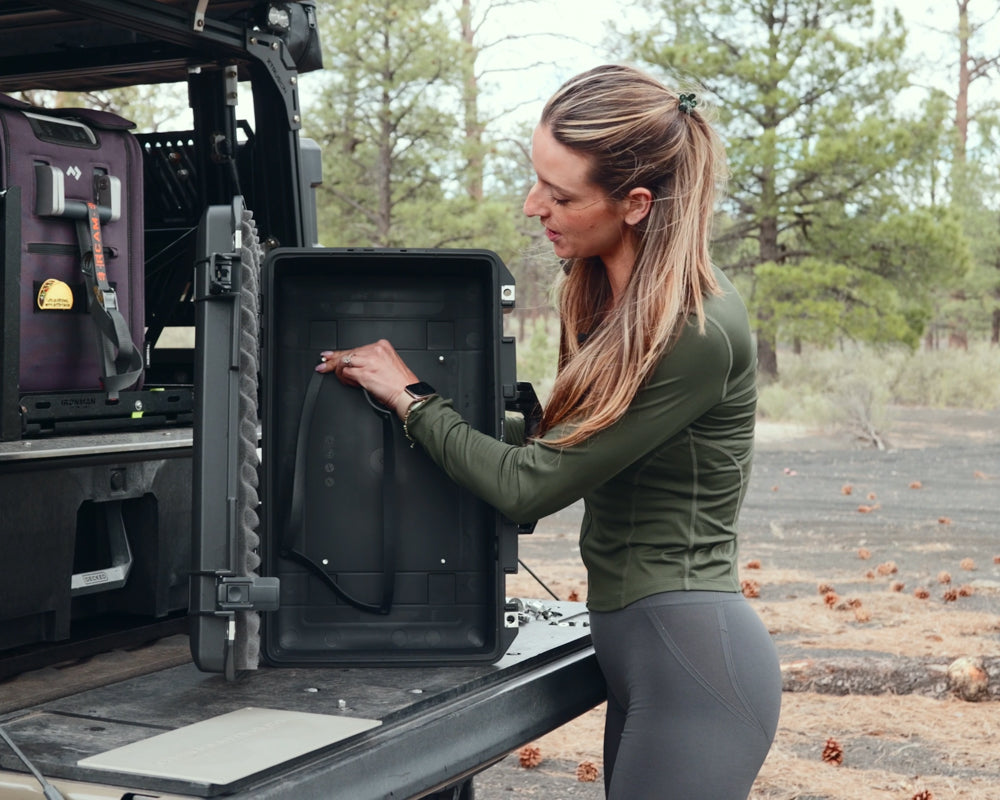
Open the case and flip it on its side, this will allow for access to both the Mount Side Plate and the Internal Gasket/Plate.
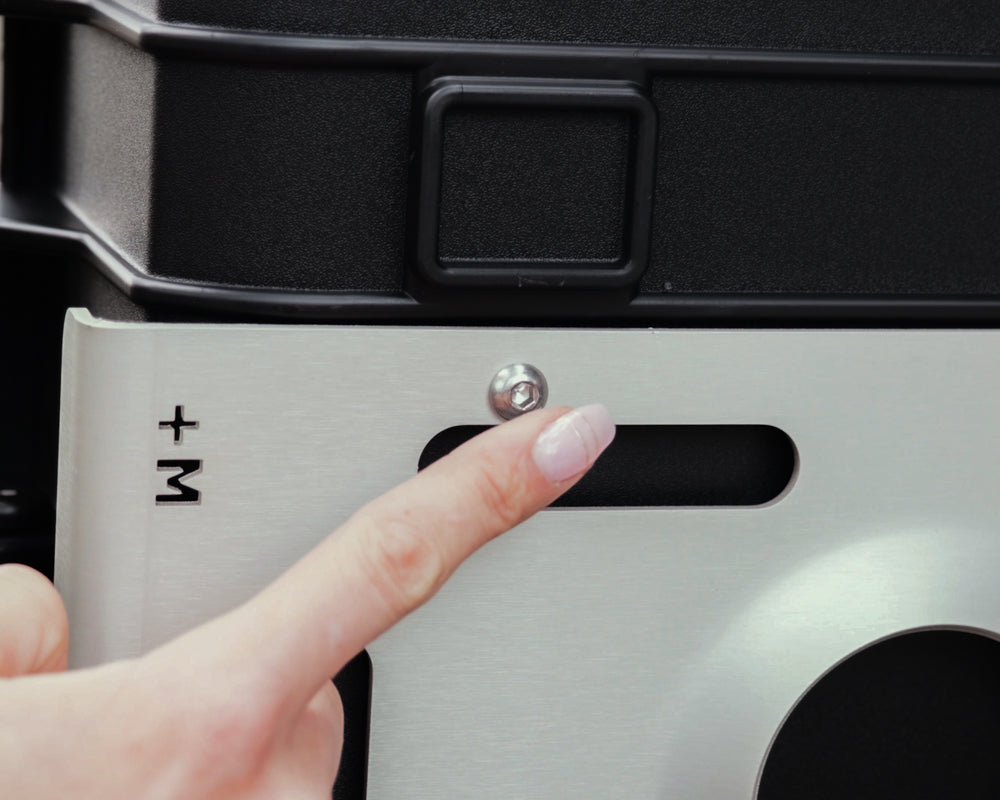
Take the bolt, making sure the button head is facing out, and feed it through the Mount Side Plate into the case and through the Internal Gasket.
Pro Tip: Use the Internal Gasket to hold the button head bolts in place.
TIP
If the button head is not facing out the plates will not align properly. This will result in the a gap causing the mount to not be utilized to its full potential.
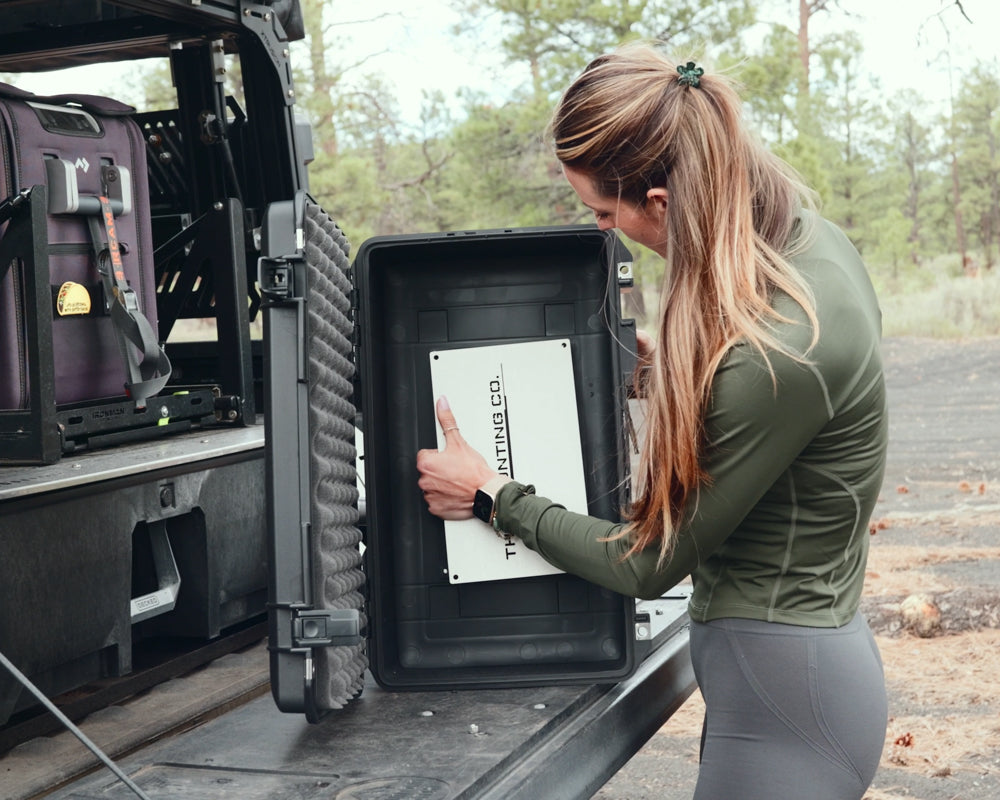
STEP 5
Once the Internal Gasket is secure, you can mount the Internal Plate.
Pro Tip: Use the Allen Tool to hold the button head bolt in place and to help align the bolt to the Internal Plate holes.
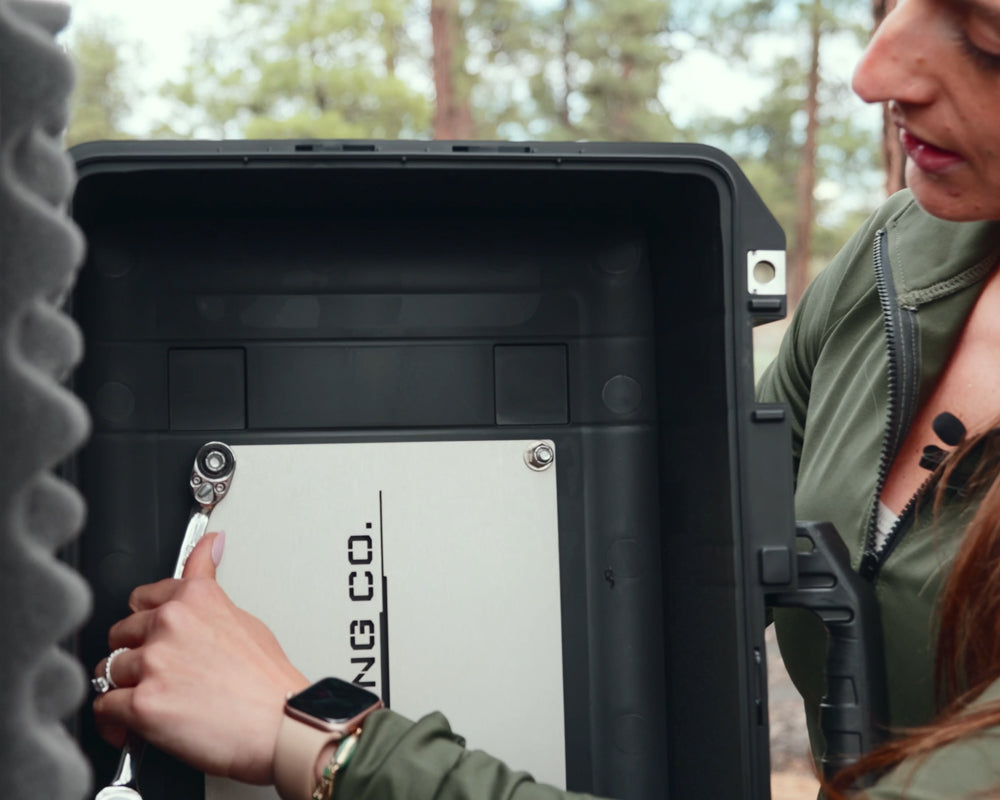
STEP 6
Now you can secure the nuts to the bolts.
Pro Tip: To avoid stripping the allen head bolt, tighten the nut onto the bolt, and not the bolt into the nut.
There is no need to over tighten, you just need enough pressure to give the Internal Gasket a good "squish" to create a water/weather tight seal.

STEP 7
The Base Plate install is fairly simple and can be mounted to just about anything you can imagine. The most common are roof racks and bed racks.
Once you know where the case will sit on the platform, you can either lightly set the mount in place, or mark where you will place it.
No matter where you place it remember that the washer does not go against the head of the bolt, but against the nut.
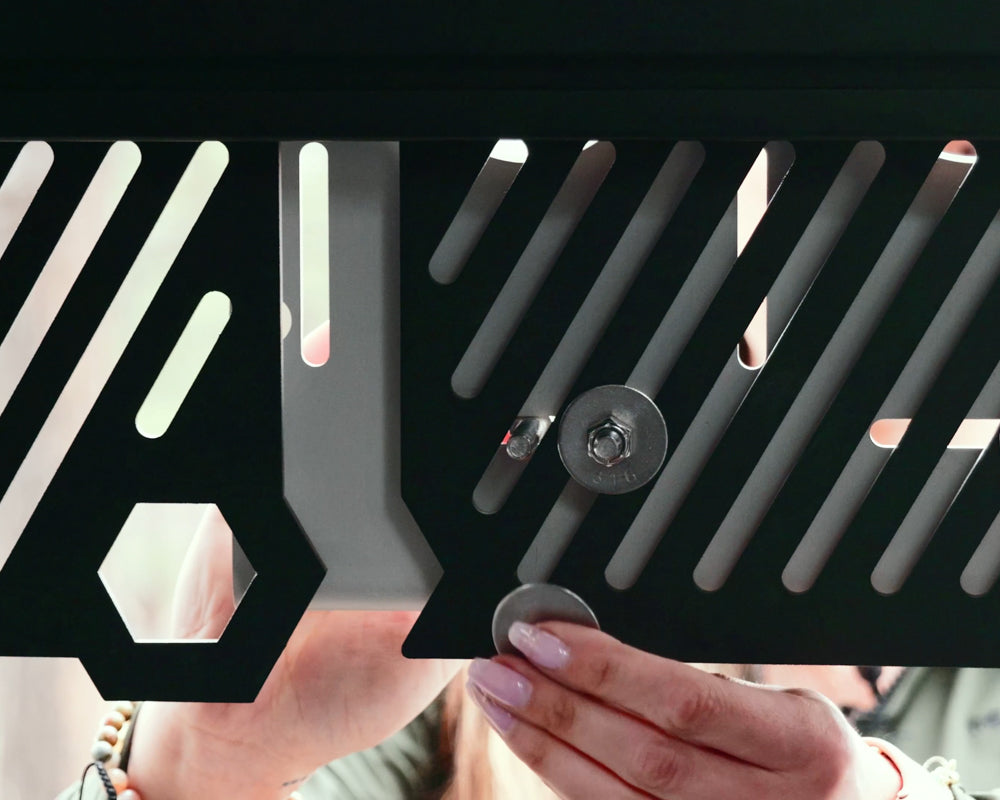
TIP
If you are installing against a flat surface the provided washer provides more strength and surface area for the nut.
If your roof rack company provides hardware to mount to their specific rack, you may need to pick up different lengths OR something like that.


